The upgrade dilemma: Is Windows 11 really for everyone?
When it comes to Windows 11, its system requirements are high compared to previous Windows operating systems. This can be a problem for those with older or low-end PCs, as installing Windows 11 can cause issues such as random crashes and blue screen errors. Although you can circumvent the requirements of Windows 11, it is not the most advisable option.
The solution is here! Tiny 11: the light version of Windows 11
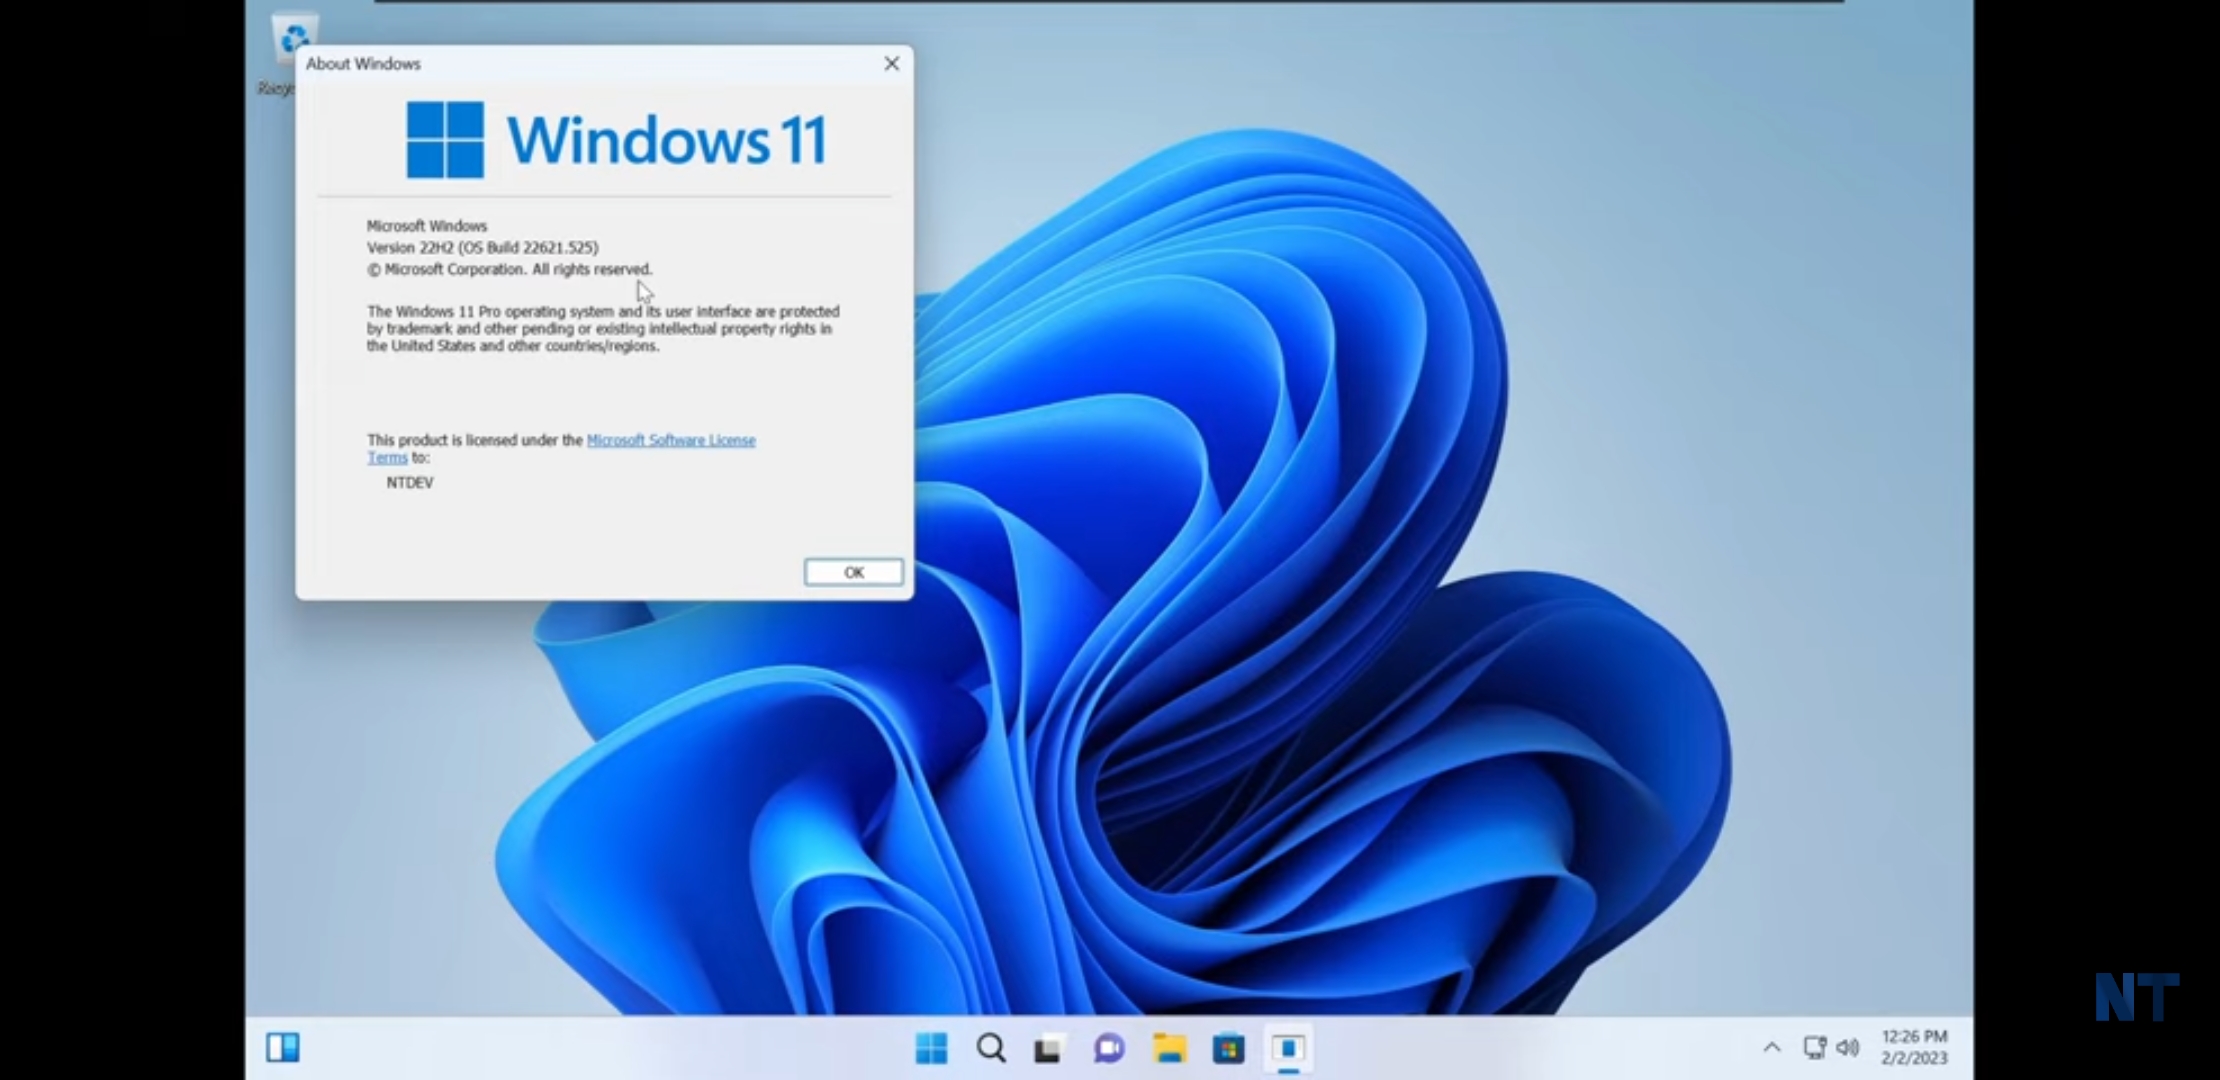
If you want to run Windows 11 on your old computer with low RAM and disk space, Tiny 11 is the solution. It is a project of NTDev and represents a reduced edition of Windows 11. This version is based on Windows 11 Pro 22H2 and includes everything you need for a comfortable computing experience, since it does not have the excess and clutter of a standard Windows installation.
The benefits are:
- Lower hardware requirements: Tiny 11 allows older computers or computers with hardware limitations to run Windows 11, thus improving their performance and compatibility with newer applications.
- Reduced resource consumption: By requiring less disk space and RAM, Tiny 11 helps computers run more efficiently, freeing up resources for other tasks and applications.
- Simplified installation: Tiny 11 eliminates many of the unnecessary features and applications that come with the standard Windows 11 installation, making the installation process faster and easier.
- Customization: As a lighter and less cluttered version, Tiny 11 gives users the opportunity to customize their operating system to their specific needs, downloading and installing only the applications they really need.
However, it is important to note that this edition is not officially supported, which could lead to security and update issues. Therefore, if you are looking for a safer and more stable experience, it is advisable to install Windows 11 by obtaining an ISO file directly from Microsoft.
Minimum requirements and unique features of Tiny 11
Tiny 11 requires only 8 GB of storage and 2 GB of RAM to run properly. Some have even managed to run Tiny 11 with only 200 MB of RAM, albeit at a very slow speed. The operating system itself takes up only 6.34 GB, while the rest is used by basic applications such as Paint, Notepad and Calculator.
Some unique features of Tiny 11 include that no TPM is required to install it and the Microsoft Store application remains intact, allowing additional applications to be downloaded and installed. In addition, it uses a local account by default, but the option to set up an online account remains.
However, due to its pared-down nature, Tiny 11 does not include many features you might need and does not update automatically. In addition, it does not have official Windows support.
How to download and install Tiny 11?
To install Tiny 11, the light edition of Windows 11, on your old computer, you must first download the necessary ISO file. Below, we provide you with detailed and SEO optimized instructions on how to do this and how to proceed with the installation:
Download the ISO file:
Open Google Chrome and perform a search using terms such as “Tiny 11 ISO”, “Windows 11 Tiny ISO download” or “Tiny 11 22H2 download” to locate a download link on Internet Archive. This website provides a Tiny 11 ISO file for download. When you open the link, click on the “ISO IMAGE” option to get the Windows 11 Tiny Edition ISO file.
USB drive preparation:
Download and install Rufus, a free tool that will help you create a bootable USB drive. Connect a USB flash drive to your computer and launch Rufus. Select the USB drive in the tool and load the previously downloaded Tiny 11 ISO file. Then follow the instructions to create a bootable USB drive.
Before starting the tutorial, make sure you have downloaded the Tiny 11 ISO file by following the instructions above. Once you have the Tiny 11 ISO file on your computer, follow these steps to use Rufus to create a bootable USB drive:
- Download Rufus: Go to the official Rufus website at https://rufus.ie/ and download the latest available version of the tool. Save the executable file to your computer.
- Connect the USB drive: Connect a USB flash drive to your PC. Make sure it has enough storage space (at least 8 GB) and does not contain important data, as Rufus will format the drive and delete all its contents.
- Run Rufus: Locate the Rufus executable file you downloaded in step 1 and double-click it to launch the tool. If prompted, grant administrator permissions so that Rufus can make changes to your computer.
- Configure Rufus: In the Rufus window, select the USB drive you just connected from the “Device” drop-down menu. Then, in the “Boot Type” section, select “Disk Image or ISO” and click the “Select” button to browse for and load the Tiny 11 ISO file you previously downloaded.
- Choose the file system and label: In the “File System” section, choose “NTFS” or “FAT32” according to your computer’s needs. You can also assign a custom label to the USB drive in the “New label” field.
- Advanced options (optional): If you wish, you can adjust the advanced options by clicking on the gear icon at the bottom of the Rufus window. However, for most users, the default settings will suffice.
- Start the process: Once you have configured all the options, click the “Start” button at the bottom of the Rufus window. A warning will appear stating that all data on the USB drive will be destroyed. Make sure you have backed up any important data before proceeding. Click “OK” to confirm and begin the process.
- Wait for Rufus to complete the task: Rufus will start formatting the USB drive and copy the Tiny 11 ISO files to it. This process may take several minutes, depending on the speed of your USB drive and your computer. Do not disconnect the USB drive during this process.
- Close Rufus and restart your computer: Once Rufus has completed the process, you will see a message indicating that the bootable USB drive has been successfully created. Close Rufus and restart your computer.
You now have a bootable USB drive with Tiny 11 ready to use. You can follow the steps detailed earlier in this thread to install Tiny 11 on your old PC using this bootable USB drive:
Next steps!
- Enter the BIOS: When rebooting your computer, press the corresponding key (usually F2, F10, F12, DEL or ESC) to enter the BIOS. Consult your motherboard manual or search online if you are not sure which key to use.
- Change the boot order: Once inside the BIOS, find the “Boot Order” section and set it so that the USB drive is the first boot option. Save the changes and exit the BIOS.
- Installing Tiny 11: Your computer should automatically reboot and begin the Tiny 11 installation process from the bootable USB drive you just created. Follow the on-screen instructions to complete the installation. Some of the steps include:
- Choosing a language, time format and keyboard method.
- To accept the Terms of license of software of Microsoft.
- Decide where to install Windows 11 Tiny Edition.
- To begin the installation process.
- It configures Windows 11 Lite Edition: After finishing the installation, it configures Windows 11 Lite Edition following the instructions in screen. Establish your user name, password and personal preferences.